
After seeing a similar grid of neopixels when I visited Playful Invention Company in Montreal last year, I wanted to build my own to program with LightLogo. I built two grids, one using hand-cut materials and the second with a combination of laser and hand cut white birch plywood and clear acrylic (with a blue protective film over it in the assembly photos). The grid is composed of thirty individually addressable neopixel LEDs made from a meter of Adafruit's neopixel strips, cut into five strips of six LEDs each. A Sparkfun RedBoard with LightLogo running on it controls the LEDs, and a 9V wall wart provides electricity.
My first grid was to play with the idea of sandwiching LEDs between painted MDF and acrylic. I soldered the cut neopixel strips into a grid that connected to the RedBoard with alligator clips and jumper wires. The wood was left over from another project and already painted. I cut it into an approximate "tablet" shape with a jigsaw.


I decided I wanted the LEDs in a proper grid and not diffused by the silicon housing, which required using Tinkercad to create SVG files for laser cutting. I created a layered design with room for the neopixel strips and wiring. The RedBoard would be housed in the back of the tablet, whose shape was influenced by the Speak & Spell. I wanted the design to suggest mobility: the tablet can be taken from place to place by its handle or hung from a wall by the same handle to display long term. The object displaying the light designs was understated but intended to be beautiful and approachable, too.
I enlisted the always awesome Erin Riley and her school's laser cutter to cut acrylic sheets and white birch ply into the shapes I designed in Tinkercad.


After cutting I realized I should have included room for a speaker, since LightLogo also allows you to program notes. I used a jigsaw to cut a recess in two of the layers in the center of the stack, above the RedBoard layer.


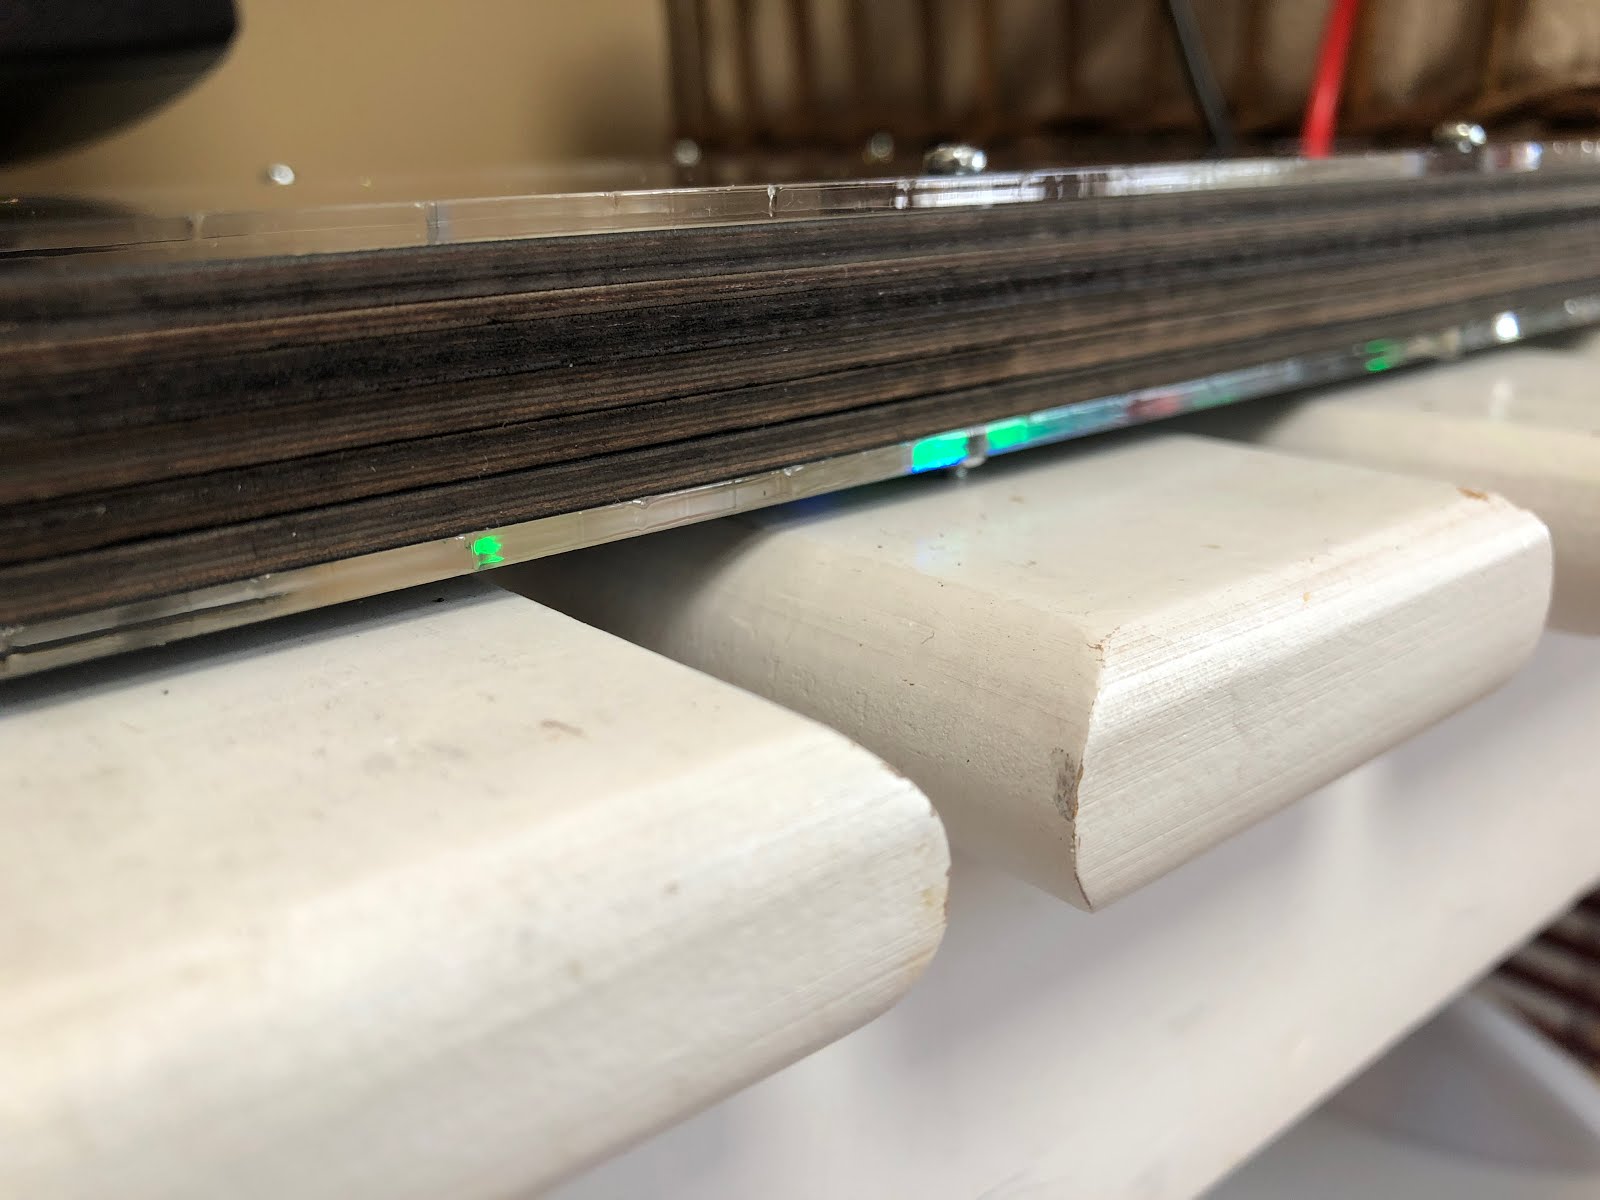
The cut neopixel strips fit nearly perfectly behind the laser cut grid; I had to use a utility knife to create a little space for the first and last in each row and plan to re-cut this piece the next chance I have.

A wood gasket provides enough clearance for the neopixel strips, wires, and nuts holding the RedBoard to the facing layer above.

The wires routed from a lower layer to the painted layer with the RedBoard attached with two M3 machine screws and nuts.


I used M2.5 x 25mm bolts and corresponding nuts to connect the layers together. The power and USB cable route through a gap in three layers of the handle. The RedBoard is slightly recessed, protecting the wires, and the bolts hold the tablet slightly above the table. The RedBoard's status light is diffused through the bottom layer of acrylic in a pleasing way, too.


Programming LightLogo in a grid such as this introduces new narrative possibilities in the ways the turtle can animate patterns. Right now I am tinkering with my "day light" procedures, animating light and shadow and weather during the course of the day. Keep an eye on my Twitter to see my iterations!
Comments